*This article contains some promotional material.
Summary of how to use Filmora13 mask functions and mask transitions
In this article. Filmora13This section explains how to use the mask function and mask transitions in
Filmorain order toFull 30-day money back guarantee from purchase.So, you can try it out risk-free.
If you actually try Filmora and don't like it, just send a simple "Please refund." via the contact form on the official website and you will receive a full refund.
Filmoraalso offers discount campaigns from time to time.For the latest discount information, link belowPlease check it out from the following page.
↓arrow (mark or symbol)
Click here for the official Filmora website
30-day money-back guarantee now!
Filmora13(フィモーラ13)でのマスク機能・マスクトランジションの使い方
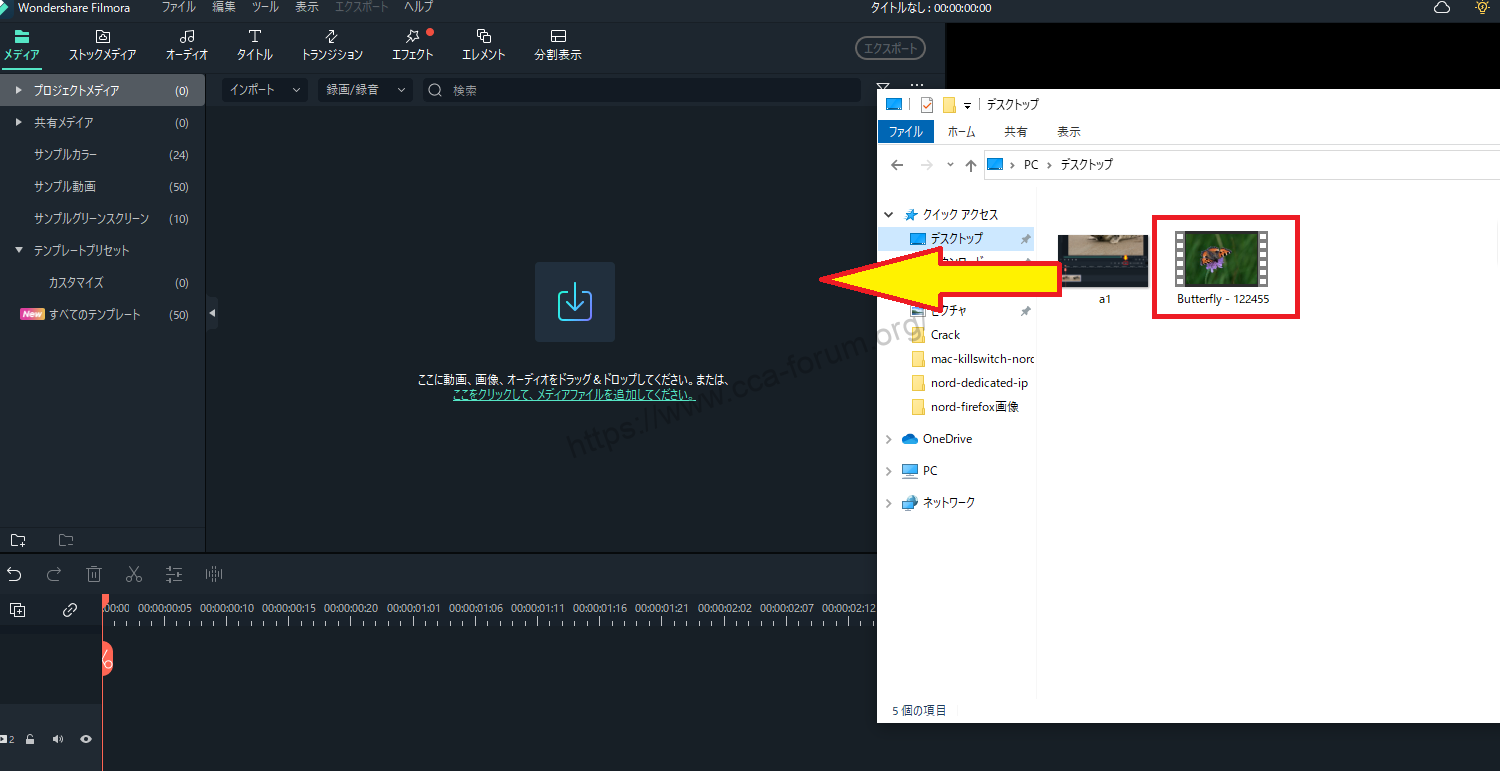
Import the video you want to mask
Select the video you want to mask from the folder and drag & drop it into the media area of Filmora.

Select a file and add it to the lower timeline view
Select the file you just added and add it to the lower timeline view.

Double-click the video you want to mask.
Double-click the video you wish to mask.

Double-click the video and select the [Mask] tab in the media window.
Double-click the video and select the Mask tab in the Media window.

Select the shape of the mask
Select the shape of the mask.

When the mask shape is selected, the setting parameters are displayed at the bottom
When a mask shape is selected, the setting parameters are displayed at the bottom.

Each parameter can be adjusted by entering numerical values or dragging the knobs. Below are the details of each.
revolution
You can set the angle of the mask.
scale
You can set the overall size of the mask.
position
The position of the mask can be adjusted.
Blur intensity
You can set the level of blurring of the mask border.
range (e.g. of voice)
You can set the size of the mask width (left and right).
height
You can set the size of the mask's vertical width (top and bottom).
radius
This parameter is displayed when a [Rectangle] or [Star] shape is selected.
The higher the value, the rounder the corners.
Mask Inversion
Normally, the area to which the mask is applied is displayed and its surroundings are hidden, but if "Invert Mask" is checked, the area to which the mask is applied will be hidden and its surroundings will be displayed.
After setting parameters, click "OK
After setting the parameters, click "OK.

[Click "OK" to apply the mask.

↓arrow (mark or symbol)
Click here for the official Filmora website
30-day money-back guarantee now!
summary
In this article. Filmora13This section explained how to use the mask function and mask transitions in
Filmorain order toFull 30-day money back guarantee from purchase.So, you can try it out risk-free.
If you actually try Filmora and don't like it, just send a simple "Please refund." via the contact form on the official website and you will receive a full refund.
Filmoraalso offers discount campaigns from time to time.For the latest discount information, link belowPlease check it out from the following page.
↓arrow (mark or symbol)
Click here for the official Filmora website
30-day money-back guarantee now!