In this article.Filmora13This section explains how to move images with
Filmorain order toFull 30-day money back guarantee from purchase.So, you can try it out risk-free.
If you actually try Filmora and don't like it, just send a simple "Please refund." via the contact form on the official website and you will receive a full refund.
Filmoraalso offers discount campaigns from time to time.For the latest discount information, link belowPlease check it out from the following page.
Select the video material to which you want to add subtitles, and click [Open].
When the window appears, select the video material you wish to add subtitles to and click "Open. To select multiple videos, hold down [Ctrlr] on the keyboard while clicking.
The selected video file is now loaded into Filmora.
Double-click on the video
Double-click the video.
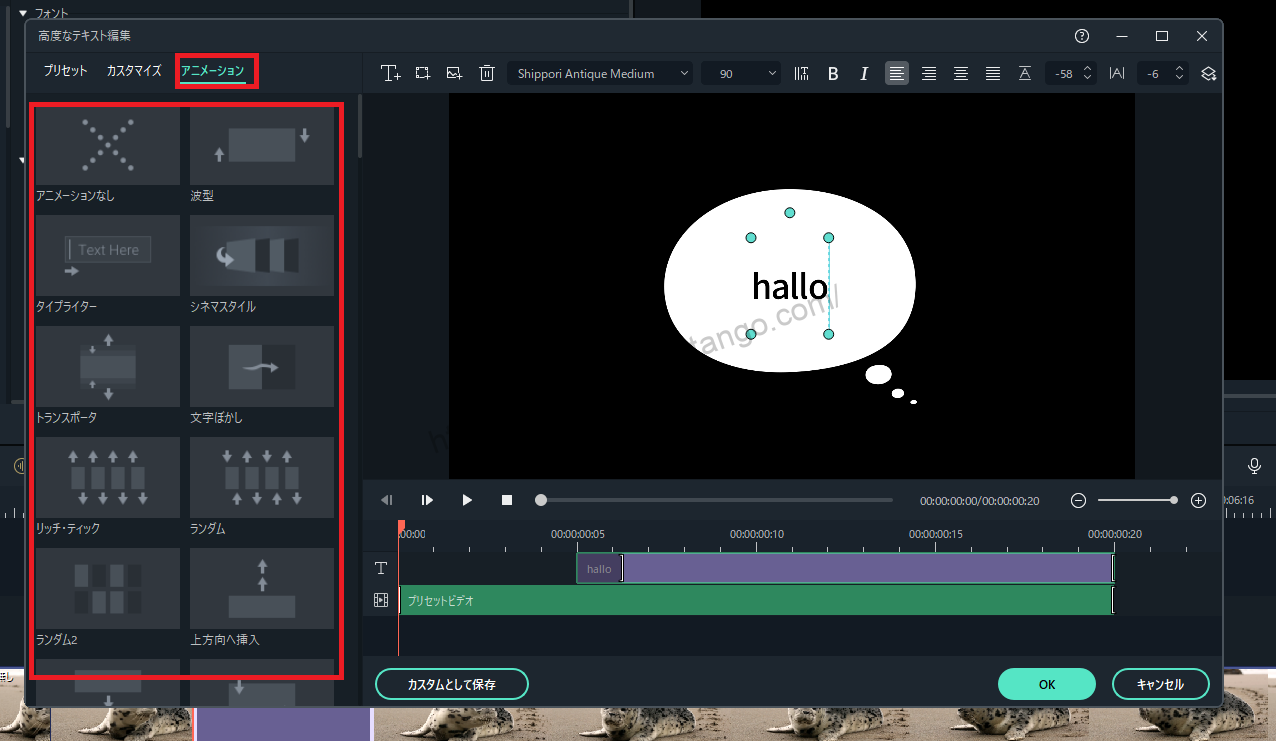
Click on the [Animation] tab and select [Preset
[Click on the "Animation" tab and select "Presets.
[If you check the "Presets" section, you can choose from animation and motion presets for various ways to move the image.
Once you have decided how to move the image, double-click on it.
Once you have decided how to move the image, double-click on it.
Double-click to display a circle (keyframe) on the image on the timeline.
Double-click to display a circle (keyframe) on the image on the timeline.
(keyframe) to the left or right to adjust the speed.
Adjust the speed by dragging the circles (keyframes) on the timeline to the left or right.
After adjusting the speed, select "OK
After adjusting the speed, select "OK.
customize
Some people may want to set their own way of moving images, so we will explain how to customize this process.
[Click on the item titled "Customize
[When you click on the "Customize" item, you will see a screen like this.
[Click on the button "Add
[Clicking the button "Add" will add the keyframe to the position where the timeline slider is located.
Add a second keyframe a little further down the line.
Since the first keyframe is the starting point, the next step is to add a second keyframe, the end point, a little further down the line.
Double-click on a keyframe to set scale and opacity
Double-click on a keyframe to set its scale and opacity.
Filmorain order toFull 30-day money back guarantee from purchase.So, you can try it out risk-free.
If you actually try Filmora and don't like it, just send a simple "Please refund." via the contact form on the official website and you will receive a full refund.
Filmoraalso offers discount campaigns from time to time.For the latest discount information, link belowPlease check it out from the following page.