*This article contains some promotional material.
Summary of how to use Filmora13's timeline
In this article.Filmora13This section explains how to use the timeline of the
Filmorain order toFull 30-day money back guarantee from purchase.So, you can try it out risk-free.
If you actually try Filmora and don't like it, just send a simple "Please refund." via the contact form on the official website and you will receive a full refund.
Filmoraalso offers discount campaigns from time to time.For the latest discount information, link belowPlease check it out from the following page.
↓arrow (mark or symbol)
Click here for the official Filmora website
30-day money-back guarantee now!
TOC
Filmora13(フィモーラ13)のタイムラインの使い方


The timeline is an essential part of video editing in Filmora. If you can master the timeline, you can greatly improve your work efficiency.
Edit the video by arranging the materials.is the main role of the timeline.
How to View Timeline
The left end of the timeline is the beginning of the video and the right end is the end of the video.


The image above the playback head (red bar) will appear in the preview window.


It can be moved by clicking on the top of the timeline or by dragging the top of the playhead or the scissors icon left or right.


Zoom in/out on projects
Drag the slider at the top right of the timeline or both sides (-)(+)to lengthen or shorten the project display.


You can also drag the top of the timeline left or right to zoom in or out.


Zoom to fit the timeline


Click the button above to adjust the timeline so that the entire timeline is visible.
shortcut key
- Shift + Z = Zoom to fit the timeline
Timeline.How to add a clip
Select the file you want to add from the folder
Select the file you want to add from the folder.


Drag and drop into Filmora's media area
Select the files you want to add from the folder and drag and drop them into the media area of Filmora.


Select a file and add it to the lower timeline view
Select the file you just added and add it to the lower timeline view.


How to delete a clip
Select a clip
Select a clip.


Select a clip and pressTrash IconClick on
Select a clip and pressTrash IconClick on


shortcut key
- Select a clip and press Delete = Deleted
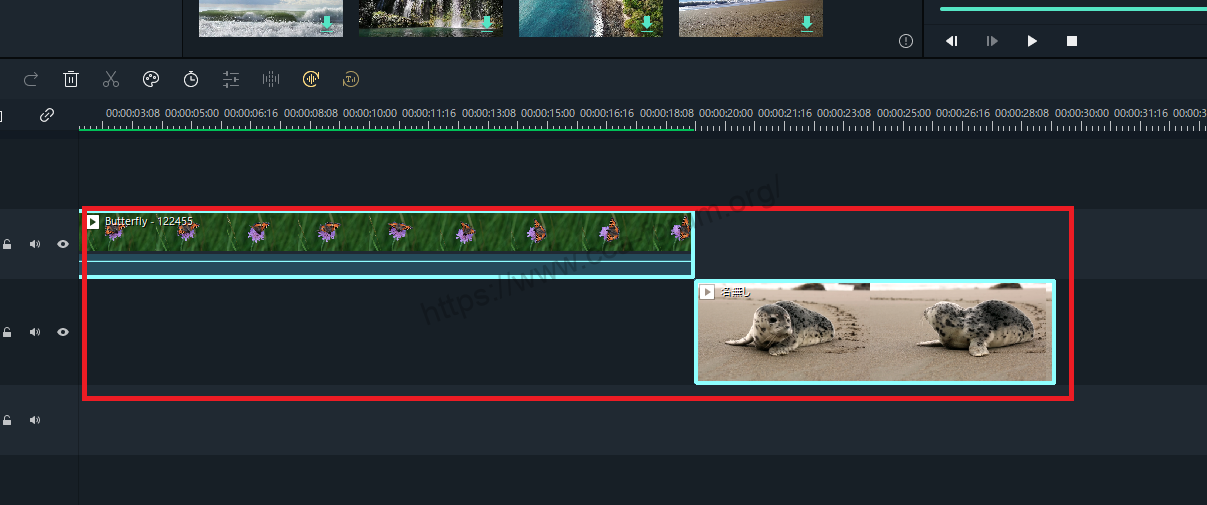
How to group clips
If you group clips, you can move multiple clips by dragging them normally.
CtrlSelect multiple clips while holding down
CtrlSelect multiple clips by holding down


CtrlSelect multiple clips by holding downright click and [GROUP]Select
CtrlSelect multiple clips by holding downright click and [GROUP]Select the


shortcut key
- Select a clip and pressCtrl+g= Group
How to cancel a group
Grouped clips.Right-click
Grouped clips.Right-click.

Grouped clips.Right-click and select [ungroup]Select
Grouped clips.Right-click and select [ungroup]to cancel the group.


shortcut key
- Select a clip and pressCtrl+Alt+g= Ungroup
Preview rendering
As you continue editing, a red line may appear at the top of the timeline and the preview may become choppy.


Click here and the red line will change to green for a smooth preview.
shortcut key
- Enter= Preview rendering
Undo and Redo
Arrow iconsEach click on the "+" button allows you to return to a previous state or redo a previous state.


shortcut key
- Ctrl+Z= Undo
- Ctrl+Y= Redo
↓arrow (mark or symbol)
Click here for the official Filmora website
30-day money-back guarantee now!
summary
この記事では、Filmora13(フィモーラ13)のタイムラインの使い方について解説しました。
Filmorain order toFull 30-day money back guarantee from purchase.So, you can try it out risk-free.
If you actually try Filmora and don't like it, just send a simple "Please refund." via the contact form on the official website and you will receive a full refund.
Filmoraalso offers discount campaigns from time to time.For the latest discount information, link belowPlease check it out from the following page.
↓arrow (mark or symbol)
Click here for the official Filmora website
30-day money-back guarantee now!