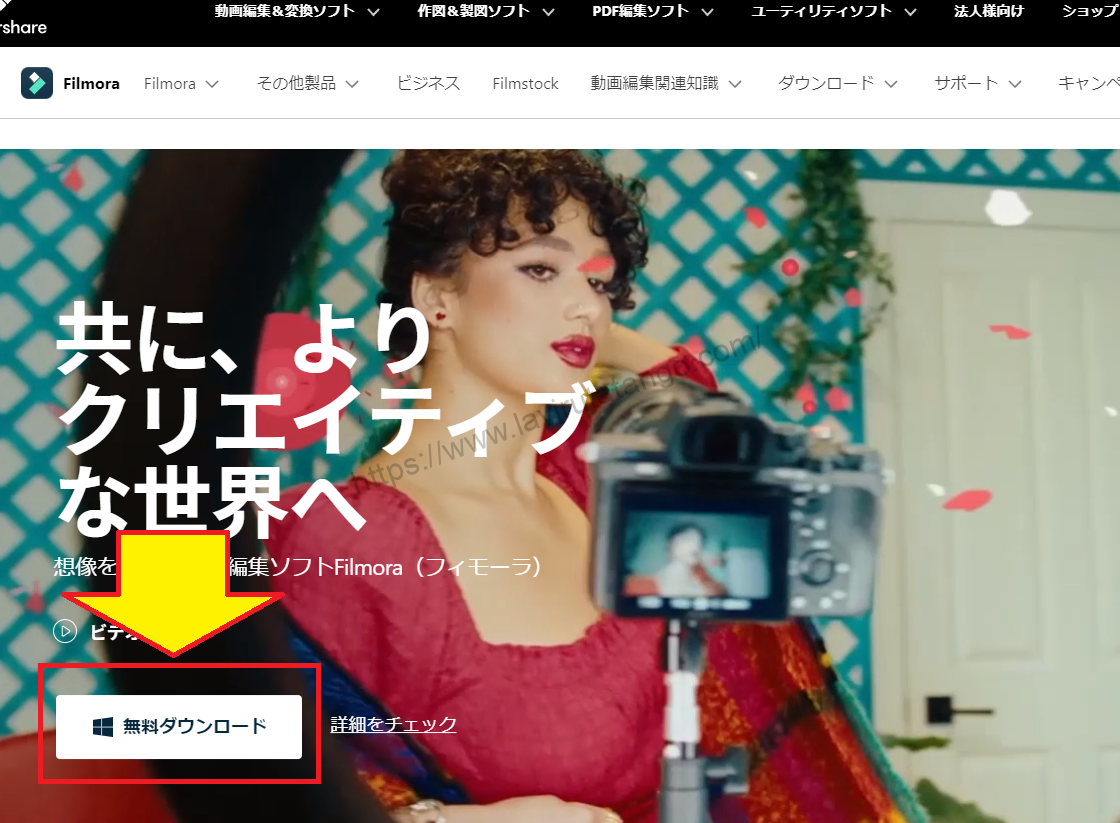
Filmorain order toFull 30-day money back guarantee from purchase.So, you can try it out risk-free.
If you actually try Filmora and don't like it, just send a simple "Please refund." via the contact form on the official website and you will receive a full refund.
Filmoraalso offers discount campaigns from time to time.For the latest discount information, link belowPlease check it out from the following page.
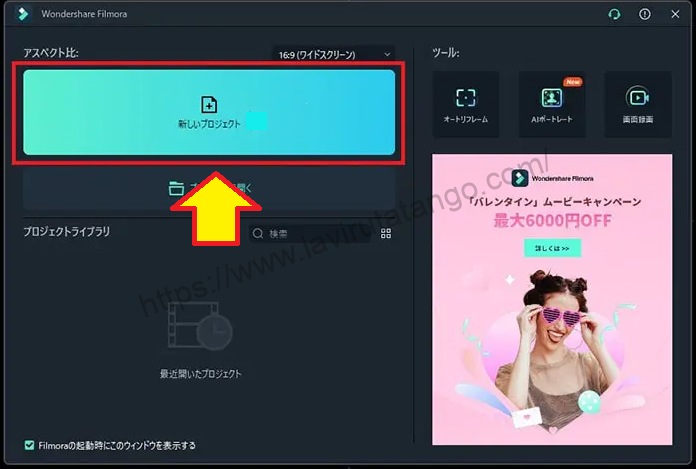
Select the size based on whether the video you want to edit is horizontal or vertical.
[Set aspect ratio]Then, for horizontal videos [16:9 widescreen], and forOther options include square and vertical video.
Basically, choose the size based on whether the video you want to edit is horizontal or vertical.
Click [New Project
[Click "New Project.
Filmora has been launched.
How to load video media files
Next, import the video material you wish to edit into Filmora.
Click [Import media files here
[Click "Import media files here.
Select the video material you wish to use for editing and click [Open].
When the window appears, select the video material you wish to use for editing and click "Open. To select multiple videos, hold down [Ctrlr] on the keyboard while clicking.
The selected video file is now loaded into Filmora.
How to insert a video file into the timeline
Click and hold on one of the loaded video files and insert it into the [Timeline] at the bottom of the screen.
Click and hold on one of the loaded video files and insert it into the "Timeline" at the bottom of the screen.
[Media matchClick on the "OK" button and you're good to go.
[Media resolution or frame rate does not match current project settings. Change so that project entertainment matches?"] may be displayed.
This means that the size (4K, Full HD, etc.) and frame rate of the video you are about to create does not match the size and frame rate of the loaded video material. Do you want to fix it?The following is a list of the most common problems with the
Basically, the [.Media matchYou can do this by clicking on the "OK" button.
If your video material is a mixture of 4K and Full HD sizes or a mixture of 60 and 30 frame rates, decide which one you want to match and change it.
How to adjust the length of a video file
Next, let's shortly edit the video file inserted in the timeline.
Click and hold on the right edge of the video file bar and move it to the left.
Click and hold on the right edge of the video file bar and move it to the left.
The video file is now shortened to the position where it was moved.
The leftmost head can be shortened in the same way
The leftmost head can be shortened in the same way.
How to cut and split a video file in the middle
Video files can also be split in two in the middle, for example, in the middle.
Click around the seconds display at the position where you want to split the video.
Click around the seconds display at the position where you want to split the video, and a red vertical line will appear.
Click on the [scissors symbol] on the timeline.
Click [scissors symbol] to split the video file in two.
Click [scissors symbol] to split the video file in two.
How to delete unwanted video files on the timeline
Right-click on the video file and select "Delete
Right-click on the video file and select "Delete.
Unwanted video files have been removed from the timeline.
Note that the original video material will not be lost if the video is deleted or cut short in video editing software.
However, please note that deleting a video stored on your computer will cause errors in the video data loaded by the video editing software.
How to change the order of videos on the timeline
Grab the newly loaded third video with the left click and move it between the first and second videos.
Add about two new video files.Let's grab the newly loaded third video with the left click and move it between the first and second videos.
The position of the video has changed.
How to enlarge or reduce the timeline for easier viewing
When multiple videos are inserted into the timeline, the files on the timeline may be too short or too long to view. So, let's zoom in and out on the timeline to make it easier to see.
Click the [+ button] in the upper right corner of the timeline
Try clicking the + button in the upper right corner of the timeline. The video file will be enlarged or reduced in size.
Conversely, the [- button] will reduce the display, and clicking the [⇔ symbol] will automatically zoom in and out optimally.
Use this feature to frequently edit to the most visible display size.
How to play videos on the timeline
Play and check the videos once you have them lined up on the timeline.
Click the "Play" button in the playback window. The video will play.
If there are any areas of concern, edit again. If all is well, you're done with your cut edits!
How to save your video project
Select "File" from the menu in the upper left corner of the screen and click "Save Project As...".
Save the project file in any location and under any name. If this project file remains, you can exit Filmora once and edit the same data again.
Video editing is very computer power intensive and may freeze or force close depending on your computer environment. Be sure to save frequently.
This article explains how to use and operate Filmora13 (Fimora).
Filmorain order toFull 30-day money back guarantee from purchase.So, you can try it out risk-free.
If you actually try Filmora and don't like it, just send a simple "Please refund." via the contact form on the official website and you will receive a full refund.
Filmoraalso offers discount campaigns from time to time.For the latest discount information, link belowPlease check it out from the following page.